Download vIOS-L2 Image for GNS3

Download vIOS-L2 Image for GNS3
When discussing network creation, GNS3 and vIOS-L2 are among the first things that come to mind. However, you can better understand these tools without the need for actual hardware.
To make GNS3 work well, you’ll need specific files, like the vIOS-L2 image. That’s because you’re not only using one switch in the emulator program. Additionally, you’ll use a router to help information move between networks.
What is vIOS-L2 Image in GNS3?
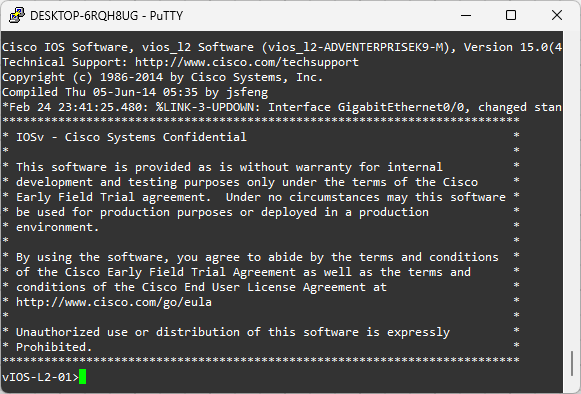
vIOS-L2 is short for Virtual IOS-Layer 2. This image acts like Cisco IOS. In easy words, it emulates to be a Cisco Layer 2 Switch device.
Users use this image a lot with GNS3 network software. This way, they don’t have to buy an actual Layer 2 Switch. By adding the virtual images to the program, they can save money.
Features of Virtual IOS-Layer 2 Device
Here are the essential things about this image that acts like an L2 device and has a VMDK extension:
- Layer 2 Switch This image mimics to be like Cisco’s Layer 2 devices. In other words, it means it does the same things as a switch does. For example, it learns MAC addresses, sends frames, or helps information move between virtual networks.
- VLAN Support You can make virtual local networks and talk between them. This way, you can communicate with users on different layers through VLAN routing.
- Spanning Tree Protocols vIOS-L2 also supports Spanning Tree. So, it allows you to test and prevent loops in your virtual network.
Download vIOS-L2.vmdk
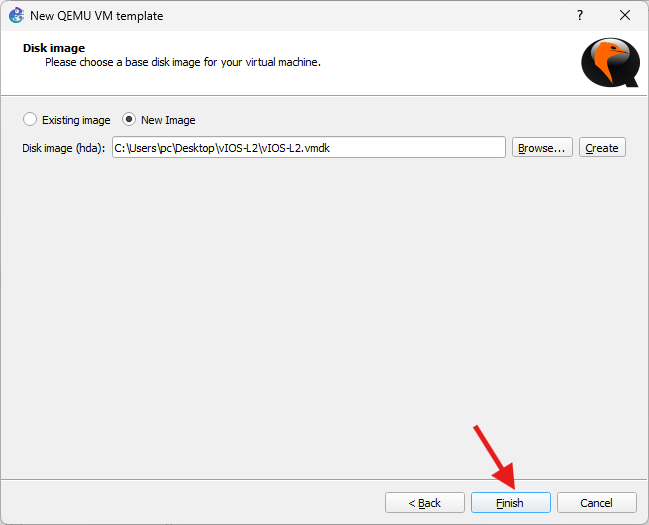
To create more advanced network designs in GNS3 software, you can safely download the vIOS-L2.vmdk file from our guide.
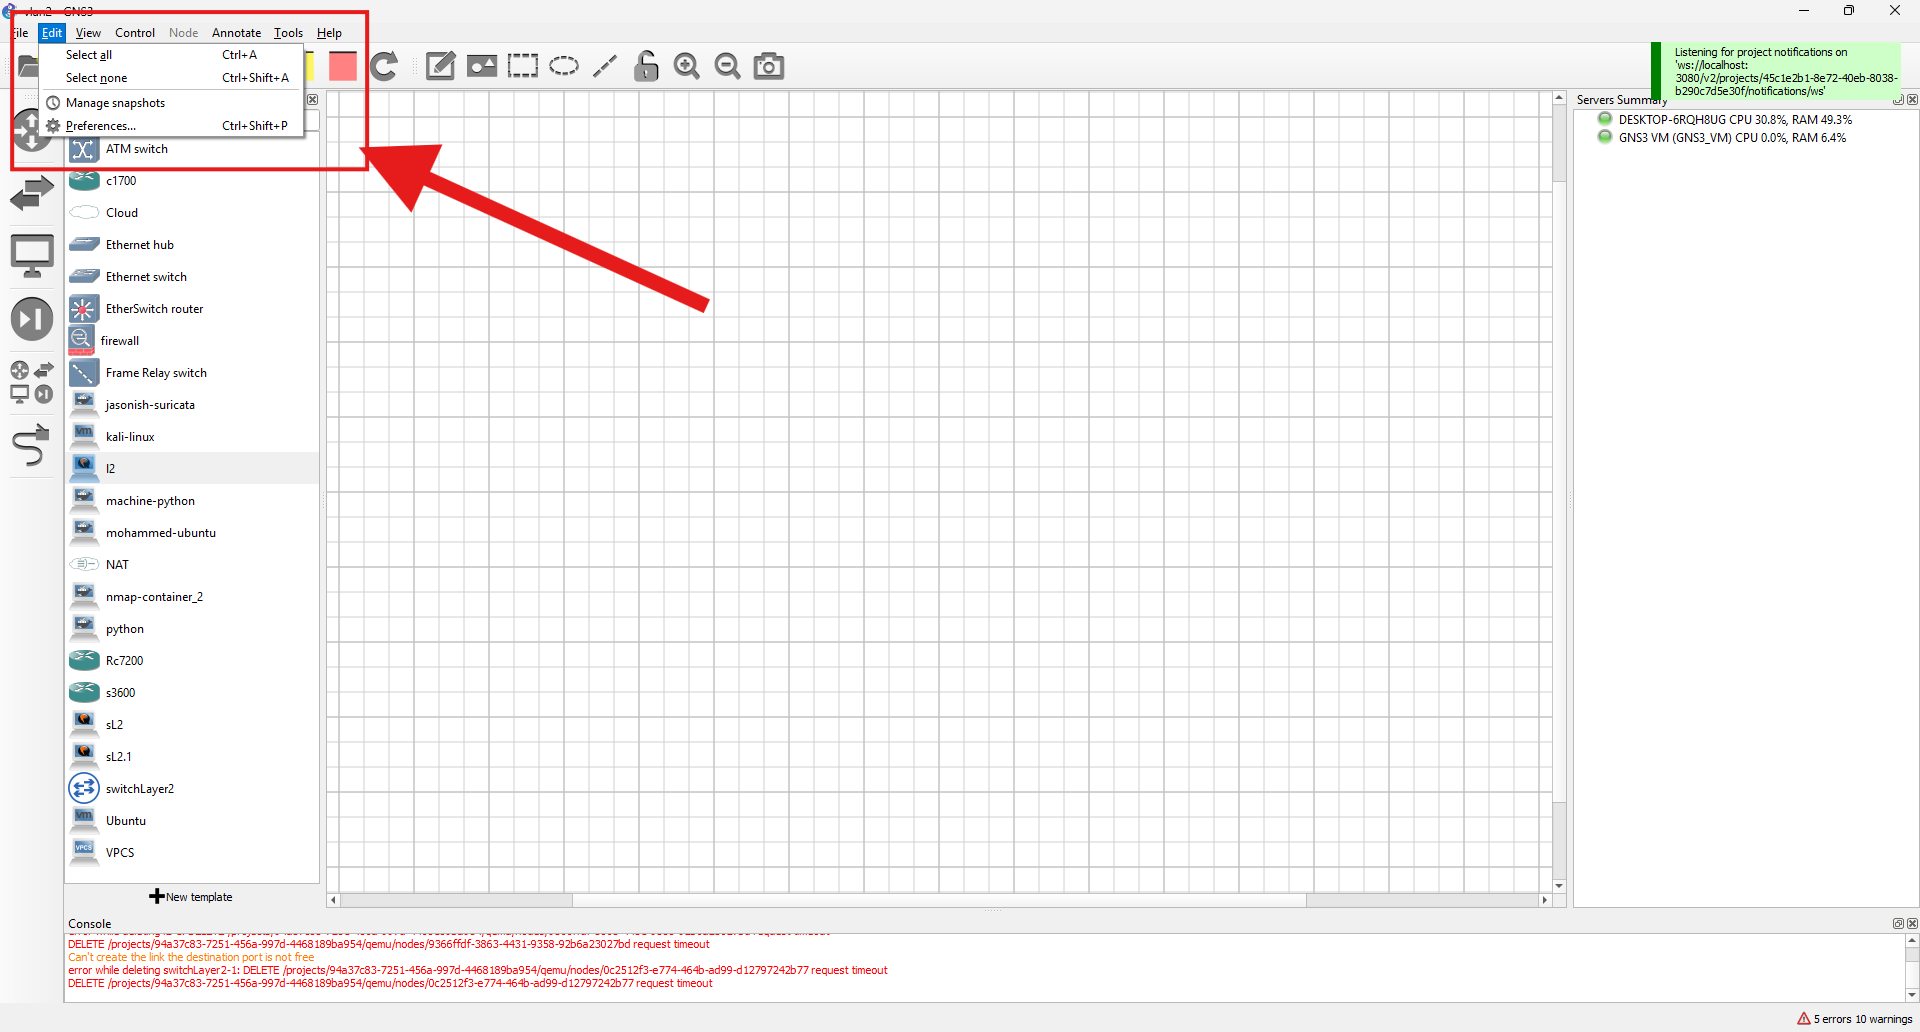
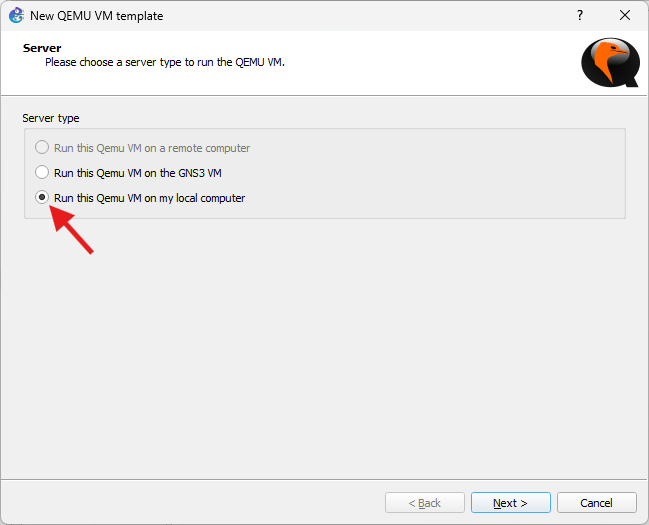
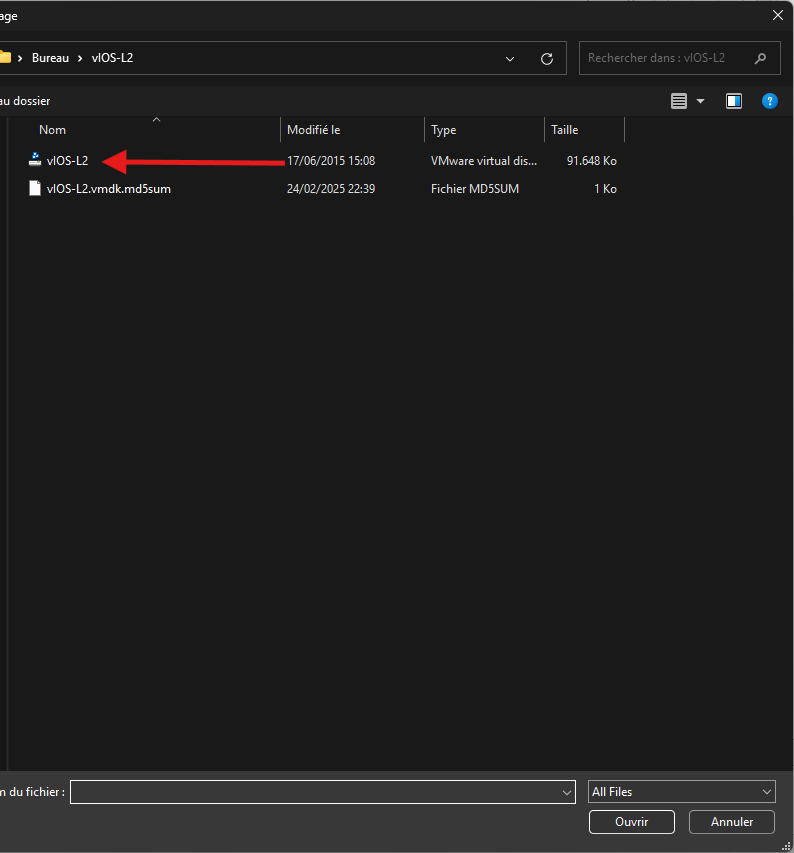
After downloading the file, we uploaded it with the RAR extension and extracted it to a folder using WinRAR. Then, open GNS3 and import it from the QemuVMs settings under Edit > Preferences
Step 1
Step 2
click on Qemi VMs 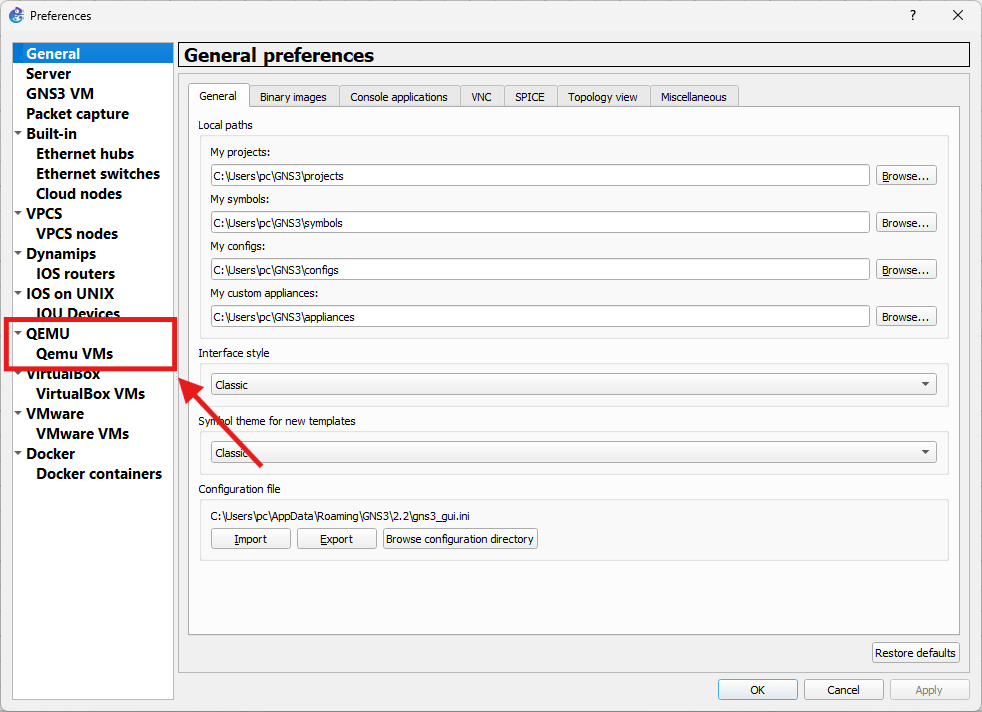
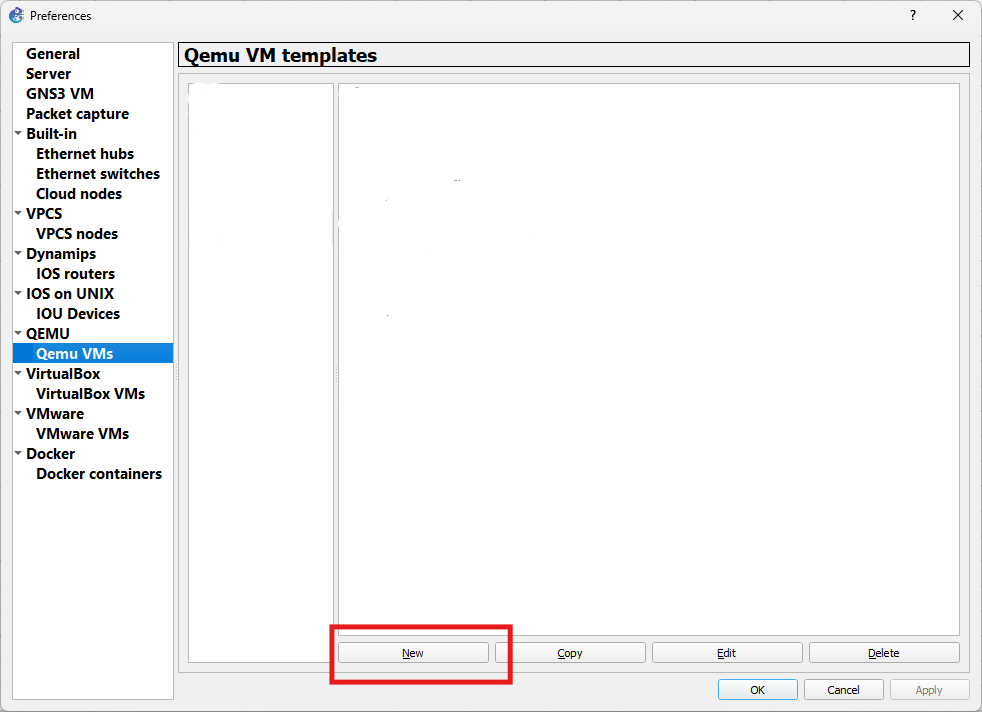
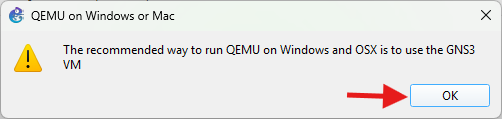
Step 3
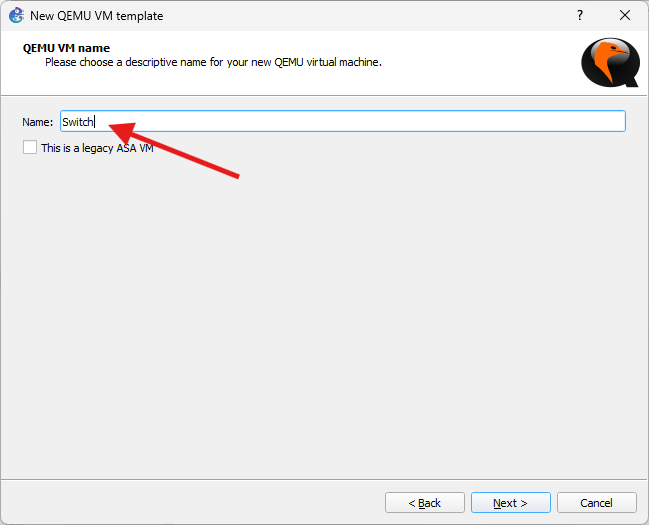
Step 4
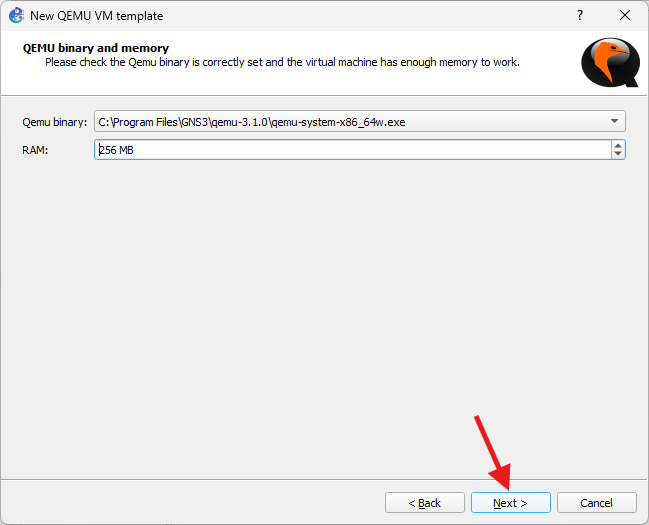
Step 5
Step 6
Step 7
Step 8

Step 9
Step 10
Step 11
Add the numbre of Adapter = port on your Switch 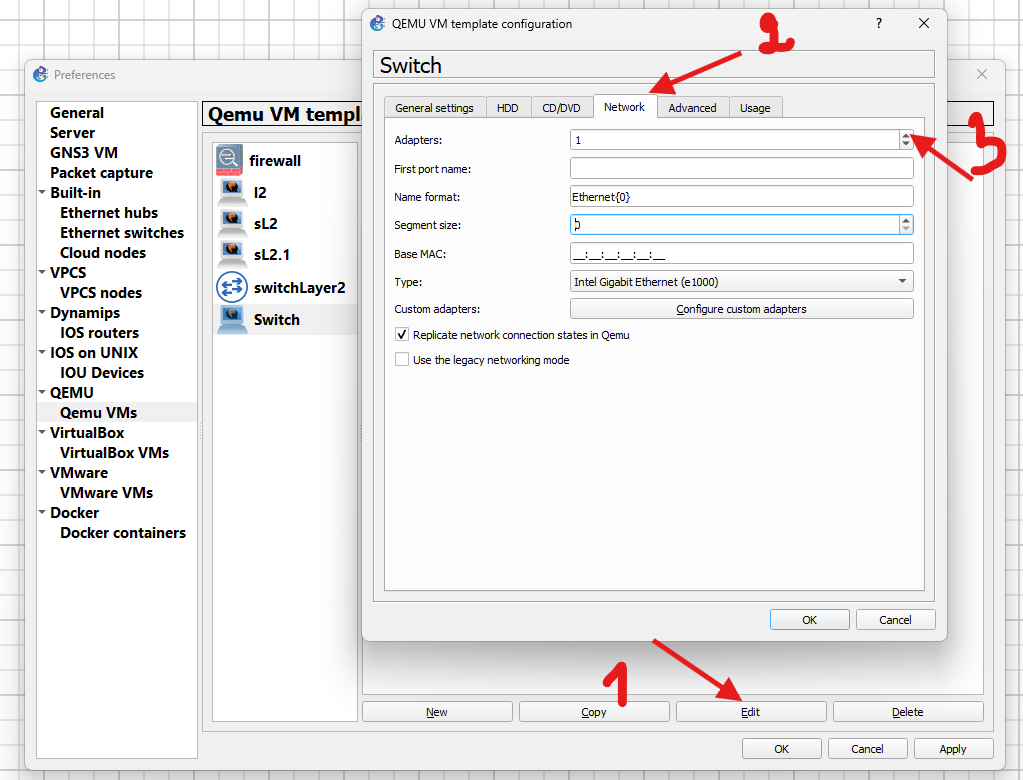
Step 12
Fianl Step !!!
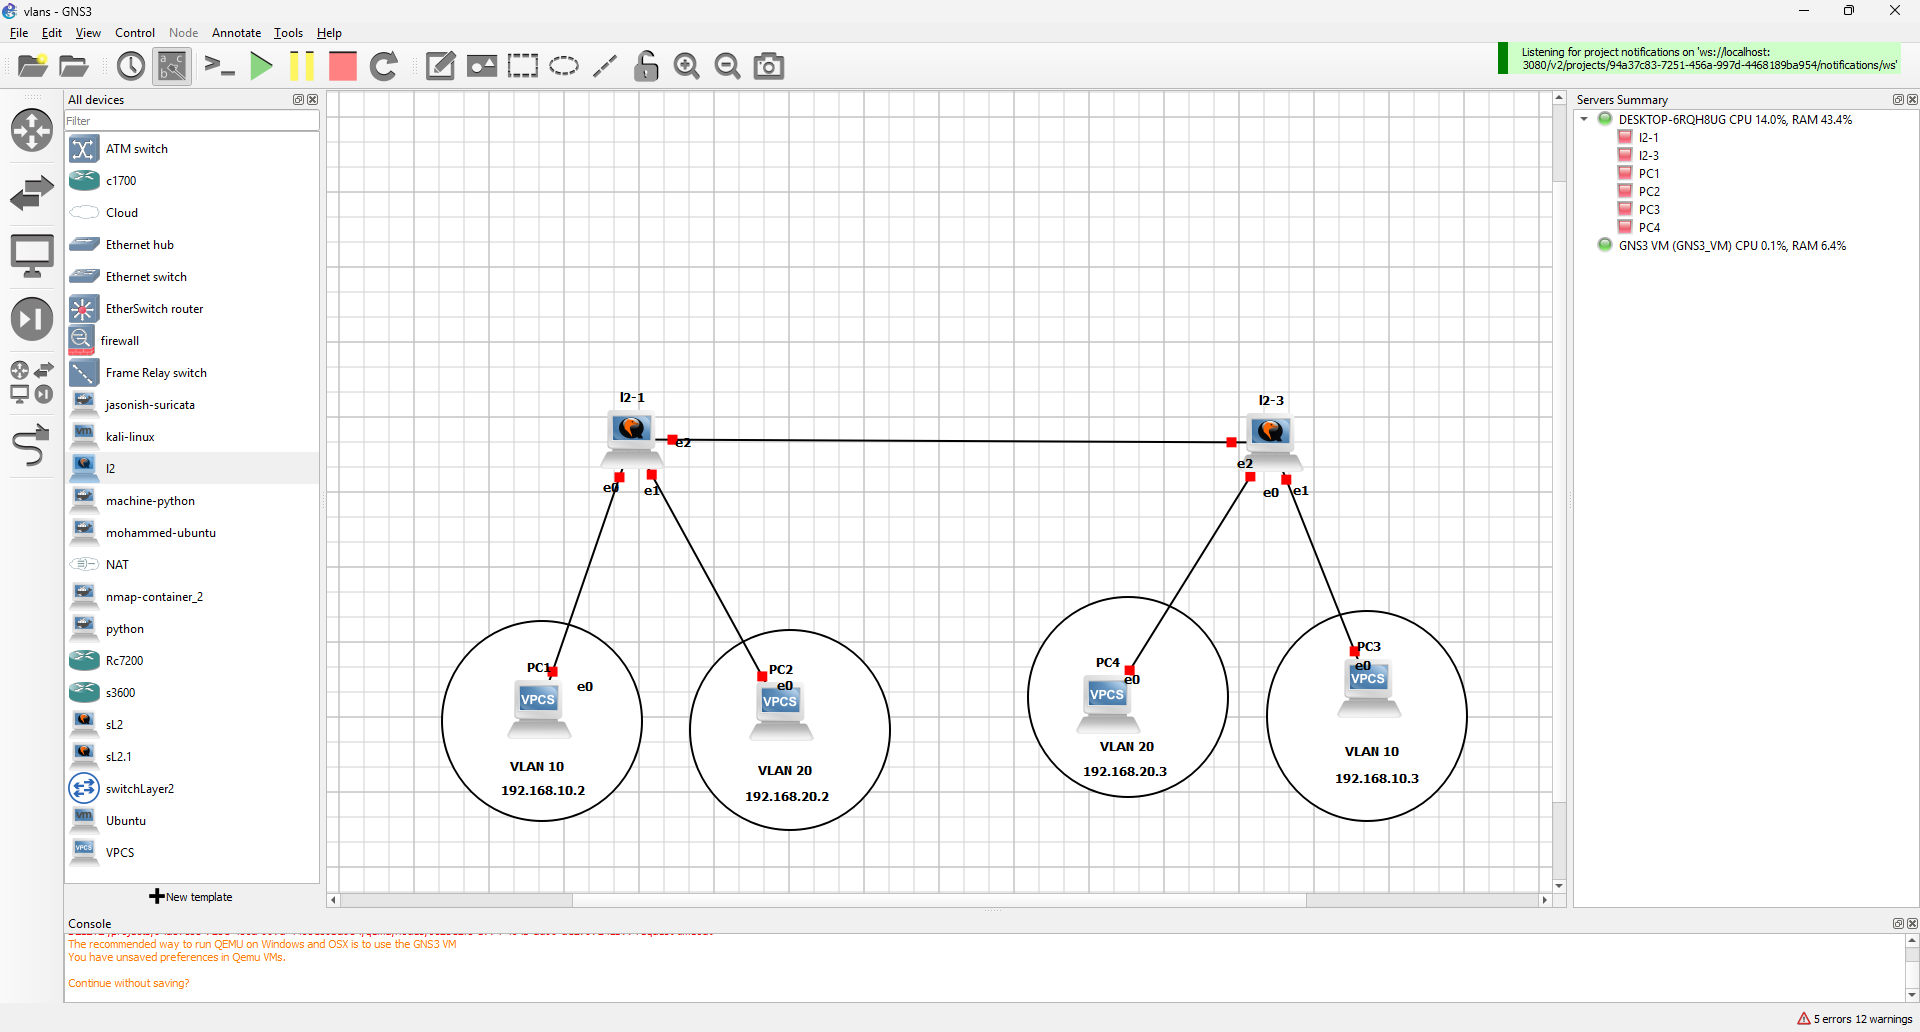
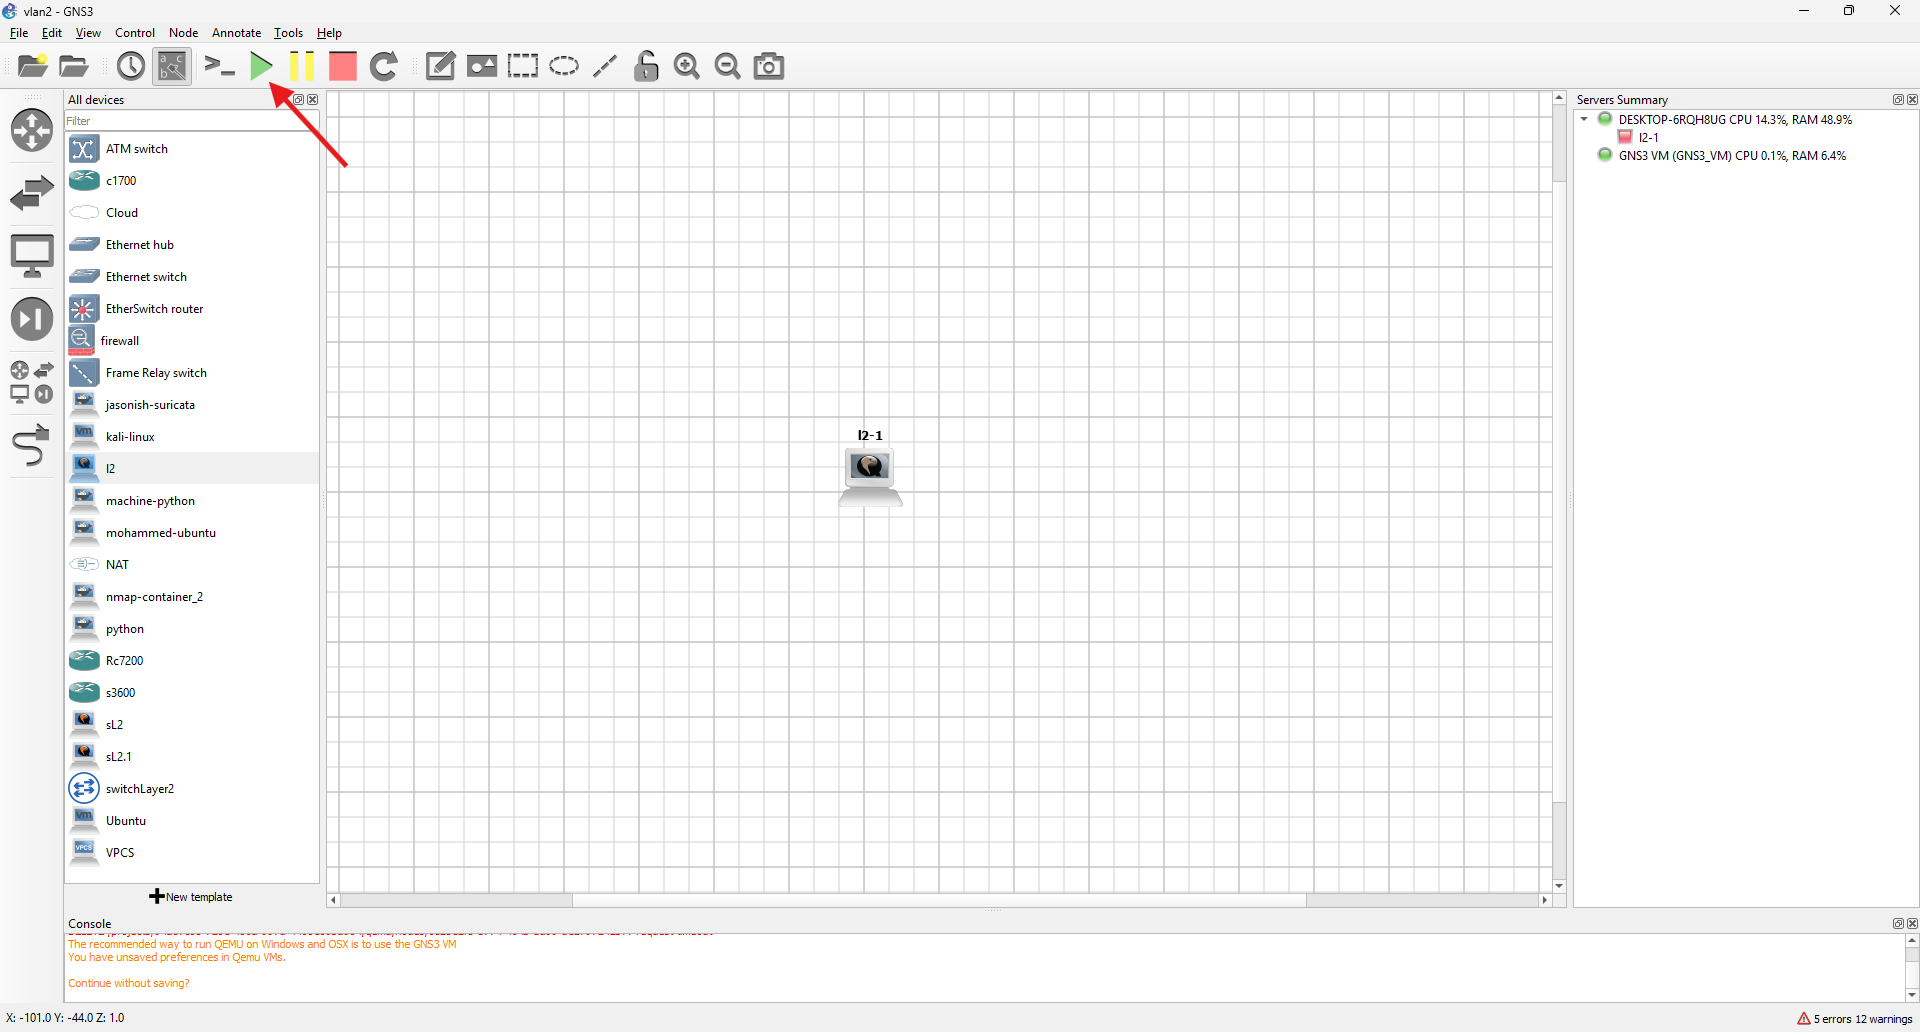
ex
try to make this Network